
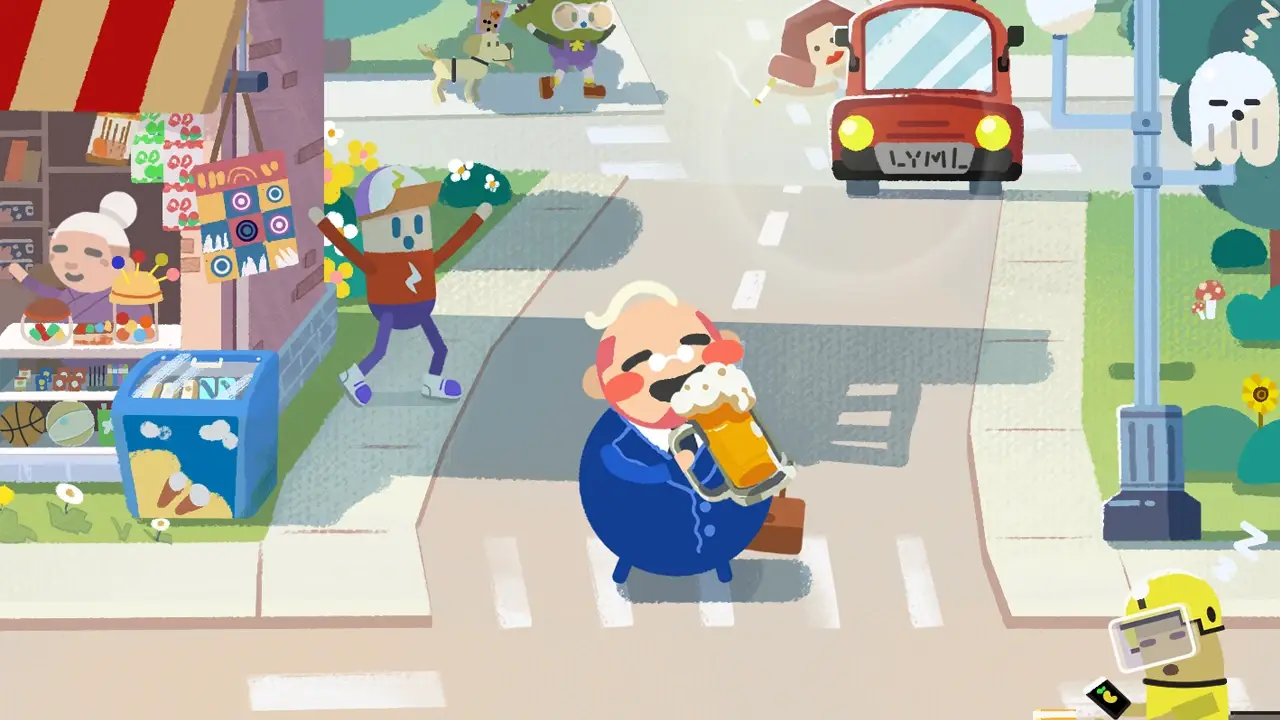


画面的美不代表游戏就好玩,但是美好的事物总能让人赏心悦目.
在平凡的生活中总想体会下不一样的经历,如果什么都像呼吸喝水一样普通,又有什么能支撑你去尝试和前进呢.
你可能很厉害,但大部分的人水平都很一般.追求挑战的时候也要回过头看看那些落在背后的伙伴.
有人喜欢高处蹦极,有人喜欢田边散步,有人喜欢水边钓鱼,但没人喜欢回家的时候发现家没了.
.jpg "网络游戏:如何选择合适的游戏,为什么玩游戏有益,如何享受游戏乐趣") 网络游戏:如何选择合适的游戏,为什么玩游戏有益,如何享受游戏乐趣
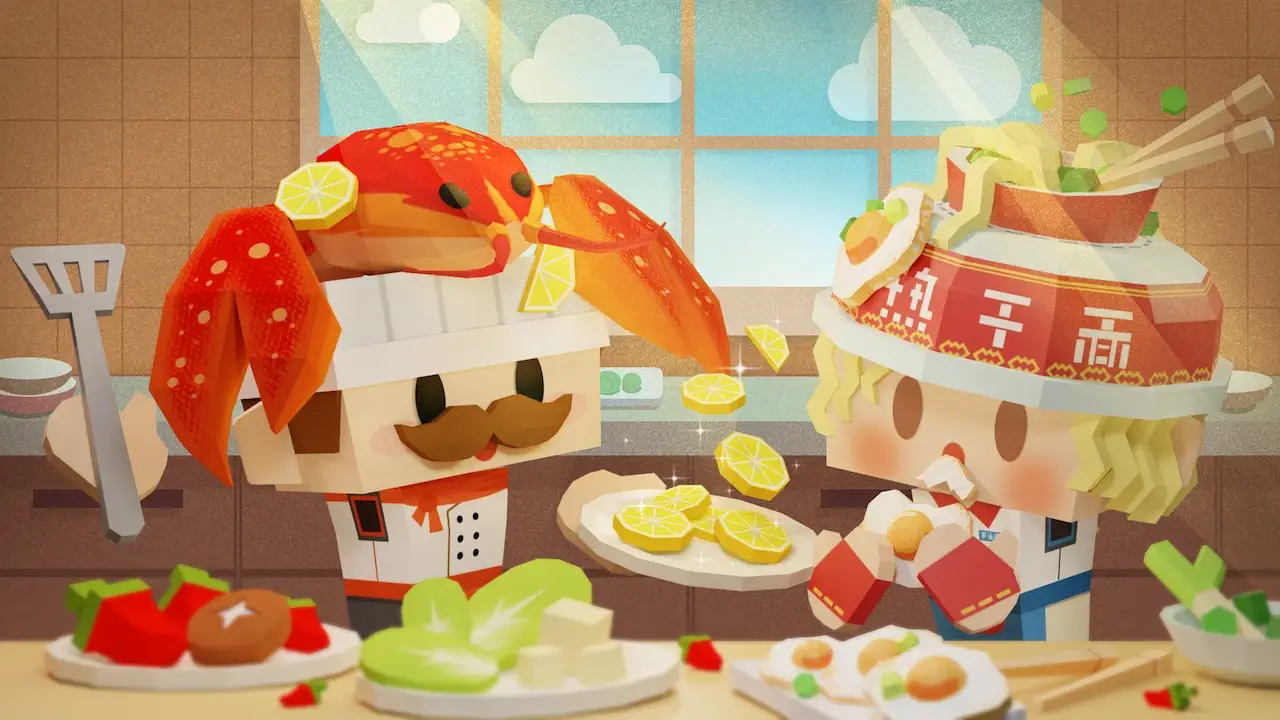
网络游戏:如何选择合适的游戏,为什么玩游戏有益,如何享受游戏乐趣在如今信息爆炸的时代,网络游戏已经成为许多人消遣娱乐的首要选择。但是,对于新手来说,选择合适的网络游戏并不容易。那么,究竟应该如何选择网络游戏呢?首先,考虑自己的兴趣和喜好是选择网络游戏的第一步。你是喜欢竞技游戏,还是更喜欢沉浸在角色扮演游戏的世界中呢?根据自己的兴趣选取合适的游戏类型,才能让你更加投入并享受游戏的乐趣。其次,了解游戏的类型和玩法也是选择网络游戏的关键。有些游戏是多人在线竞技游戏,需要和其他玩家竞争;有些游戏是沉浸式的单人剧情游戏,更注重情节和探索。在选择游戏时,要考虑自己的游戏习惯和喜好,选择适合自己的游戏类型。为什么玩网络游戏呢?除了可以享受游戏乐趣外,网络游戏还有许多其他益处。首先,游戏可以锻炼玩家的逻辑思维能力和团队合作能力。在游戏中,玩家需要不断解决问题、制定策略,并与其他玩家...
在当今数字化时代,网络游戏行业蓬勃发展,吸引着无数玩家的关注和参与。而作为游戏玩家们在选择游戏时的重要参考依据之一,排行榜则扮演着至关重要的角色。那么,这些网络游戏排行榜背后的公司是如何运作的呢?今天...
在当今数字化时代,网络游戏产业蓬勃发展,成为许多人娱乐消遣的首选。然而,对于网络游戏公司来说,如何盈利、规模大小、以及如何运作,都是关键问题。首先,网络游戏公司的盈利模式通常包括付费模式、广告模式、...
随着互联网的普及,网络游戏已经成为许多人日常生活中不可或缺的一部分。那么,为什么人们喜欢玩网络游戏呢?网络游戏究竟有哪些吸引人之处?如何选择适合自己的网络游戏?又在哪里可找到全面的网络游戏大全呢?本文...
随着科技的不断发展,网络游戏已经成为许多人日常生活中不可或缺的一部分。在众多网络游戏公司中,有一些公司因为其独特的特点和优势在市场上脱颖而出。首先,值得关注的是这些网络游戏公司在游戏开发方面的实力。...
在今天这个数字化时代,网络游戏已经成为许多年轻人和游戏爱好者热爱的娱乐方式。然而,随着市场的不断扩大和竞争的加剧,不同网络游戏公司之间的价格差异也逐渐显现。那么,为什么不同的网络游戏公司的价格会有所不...